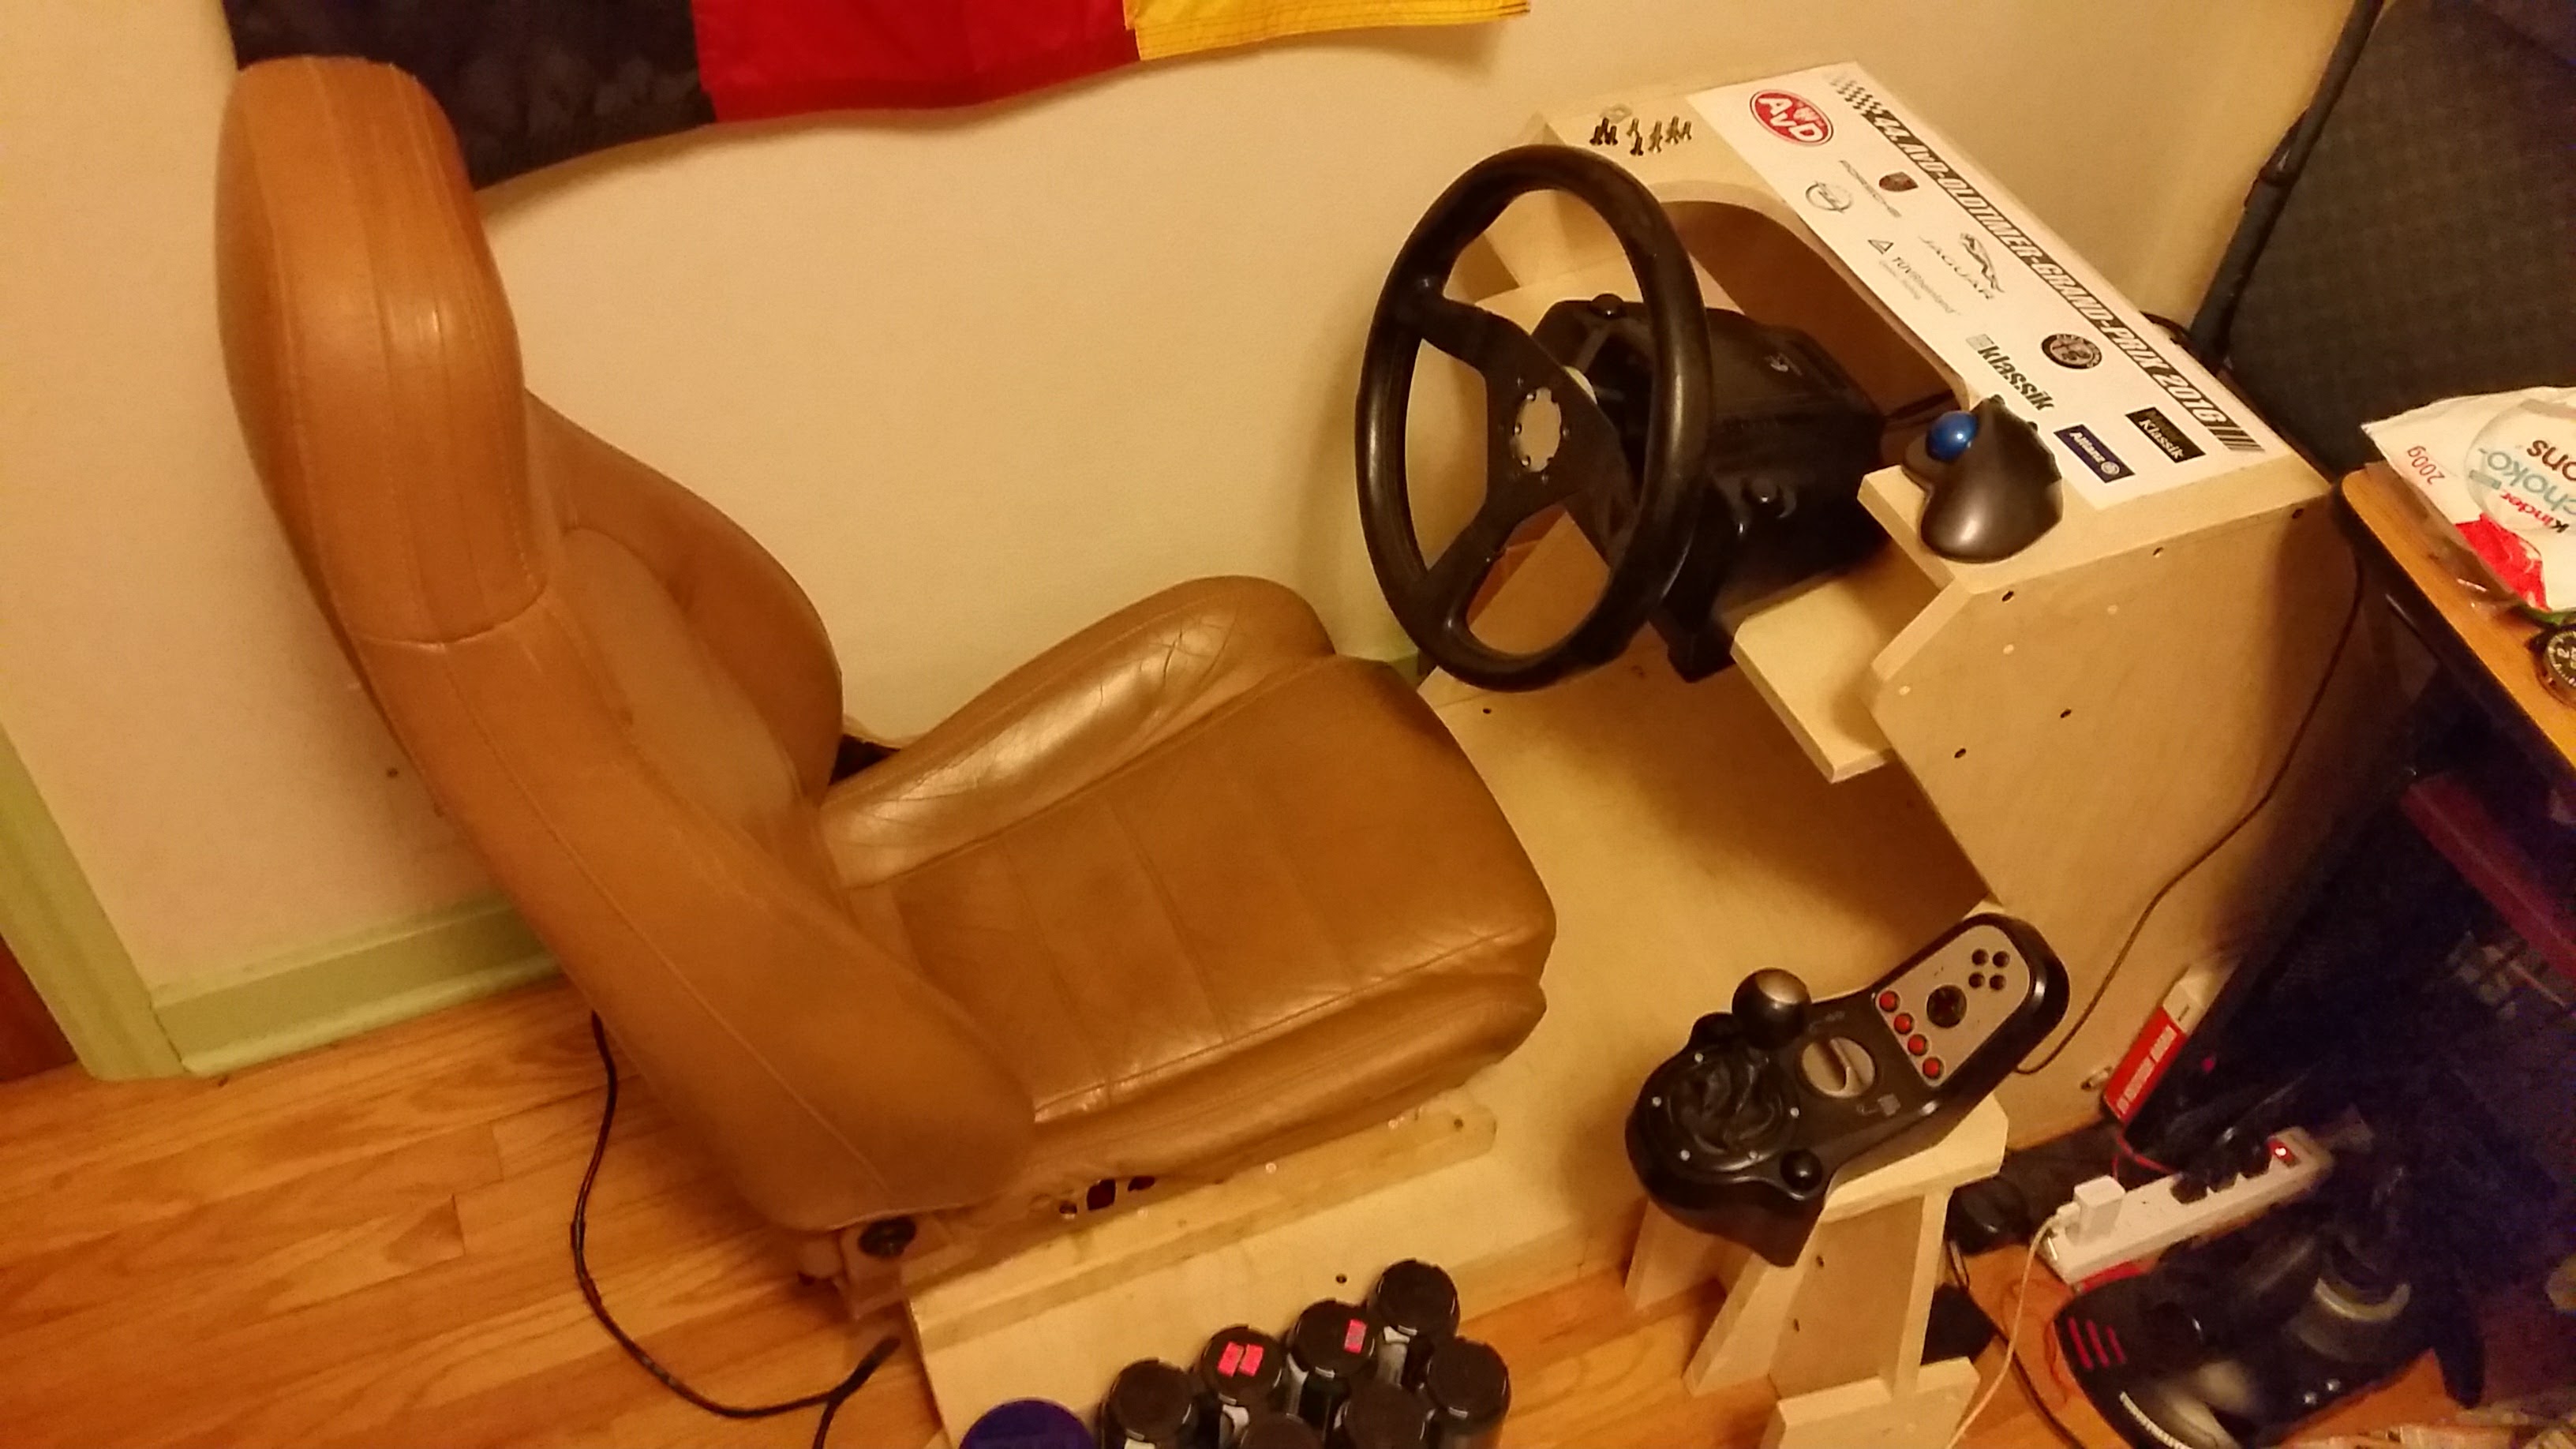
Quite a few years ago I got a Logitech G25 for Christmas. It was a vast improvement over keyboards, joysticks, and mice that I had been sim driving with for years. Unfortunately, I did not have a good place to set it up. After years of using janky wheel-clamped-to-desk-with-pedals-on-the-floor setups, I finally moved into a place where I had enough room to make a dedicated sim racing space. After another few months of being too lazy to do it, I started taking measurements from my 1991 Mazda MX-5 Miata, which fits me like a glove, to build a proper sim cockpit.
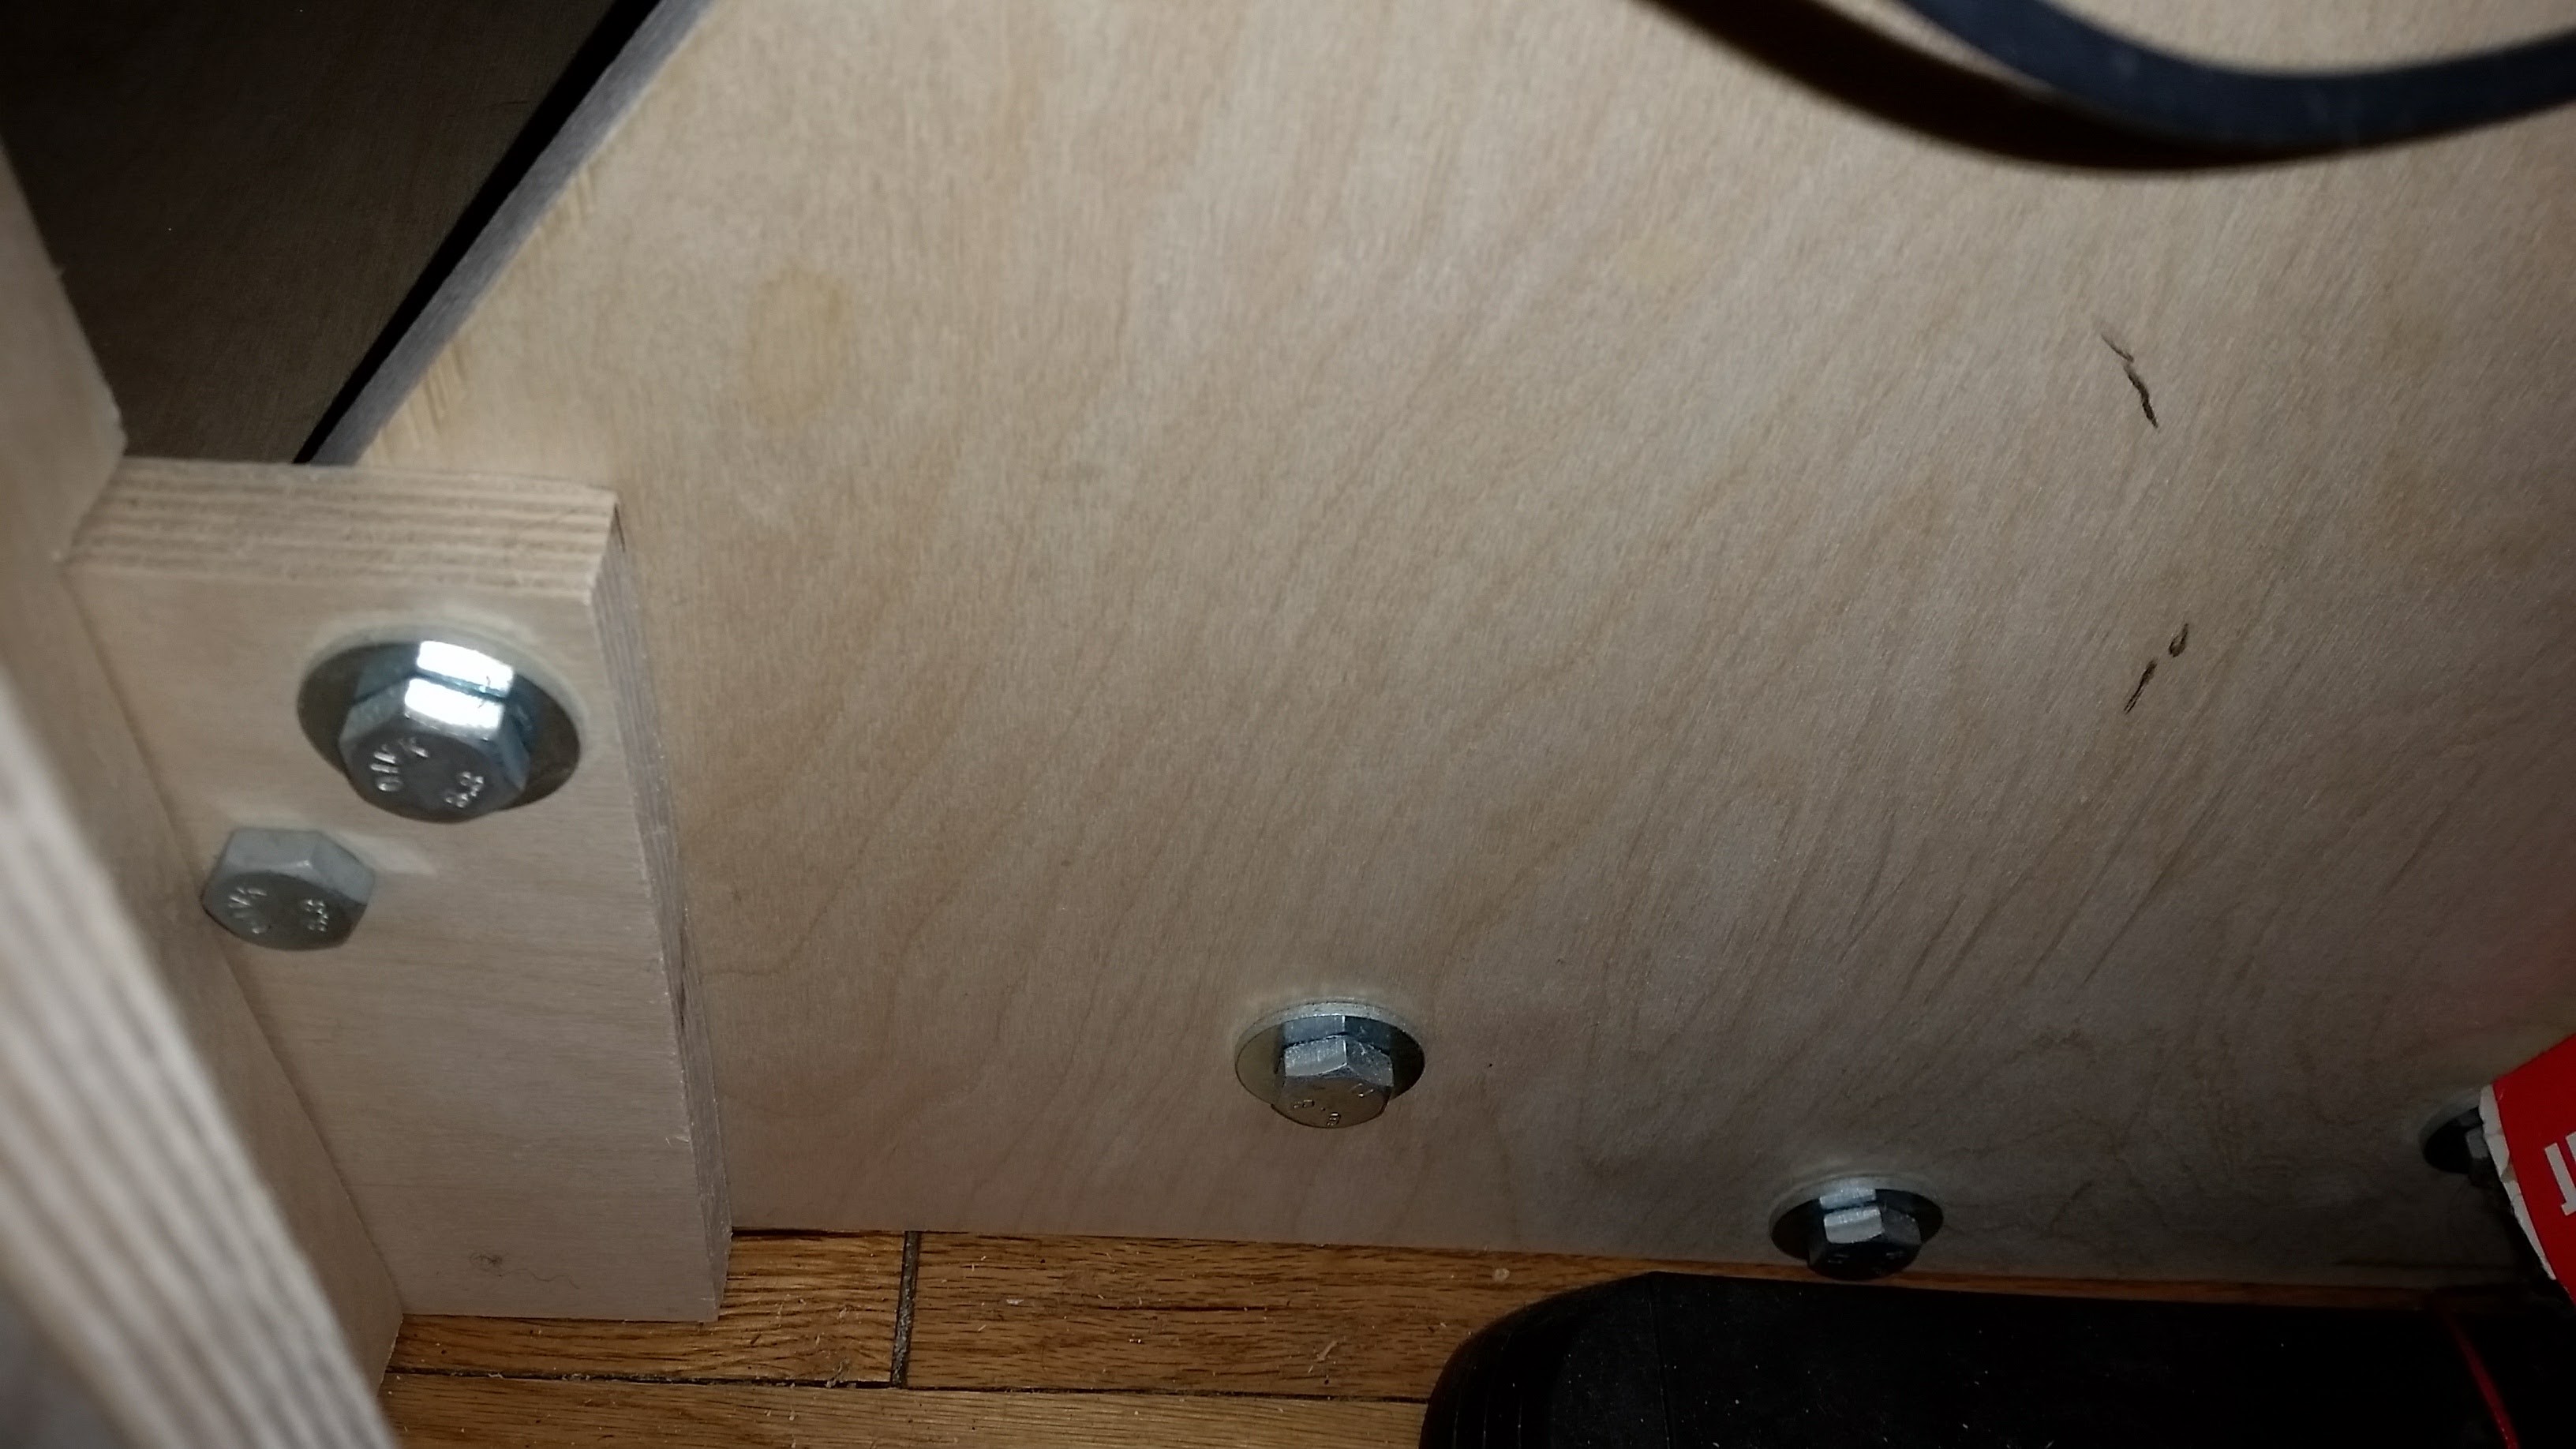
After searching the web for a week or so for other examples of similar projects or commercially available products, I found a simple enough design I liked and began to design my imitation version from the measurements I took from my car. Another few days later, I had designed all the pieces and managed to lay them out in such a way as to fit within a 5x5 square - the size in which Baltic Birch plywood can often be found. A few phone calls after that and I had located a lumber yard not far from my house with the requisite wood and the next day I had it in the back of my roommate's truck and on the way home. Finally, after a week of cutting out pieces, drilling holes, and screwing them together, it was finished.
Naturally, there were a few mistakes. First, the shifter didn't even fit. I had to move the panel it was supposed to attach to about two centimetres back, and the rest of the assembly two centimetres forward to compensate. Then after trying it the first time, I realized the wheel was about 3.5 inches too high (why I'm so inconsistent with units I don't know. I blame the US for not adopting the metric system when they had the chance. That's 90mm for the rest of the world). After fixing that, I finally screwed down the seat rails I had left sliding on the base for months; I tried to estimate where to put them to center the seat and ended up around two inches off. Finally, earlier tonight, I undid that and moved them to an appropriate location. Now it rocks!
If you want to build your own sim racing console, you may or may not be able to use the plans here. I think it is quite likely you would be able to use them with at most slight modifications, and I will try to call out where that may be necessary in the following paragraphs, but do make sure you have enough space for whatever you build and that you will fit in it comfortably! If you are not sure how to determine those answers, make educated guesses; that's what I did for most of this process.
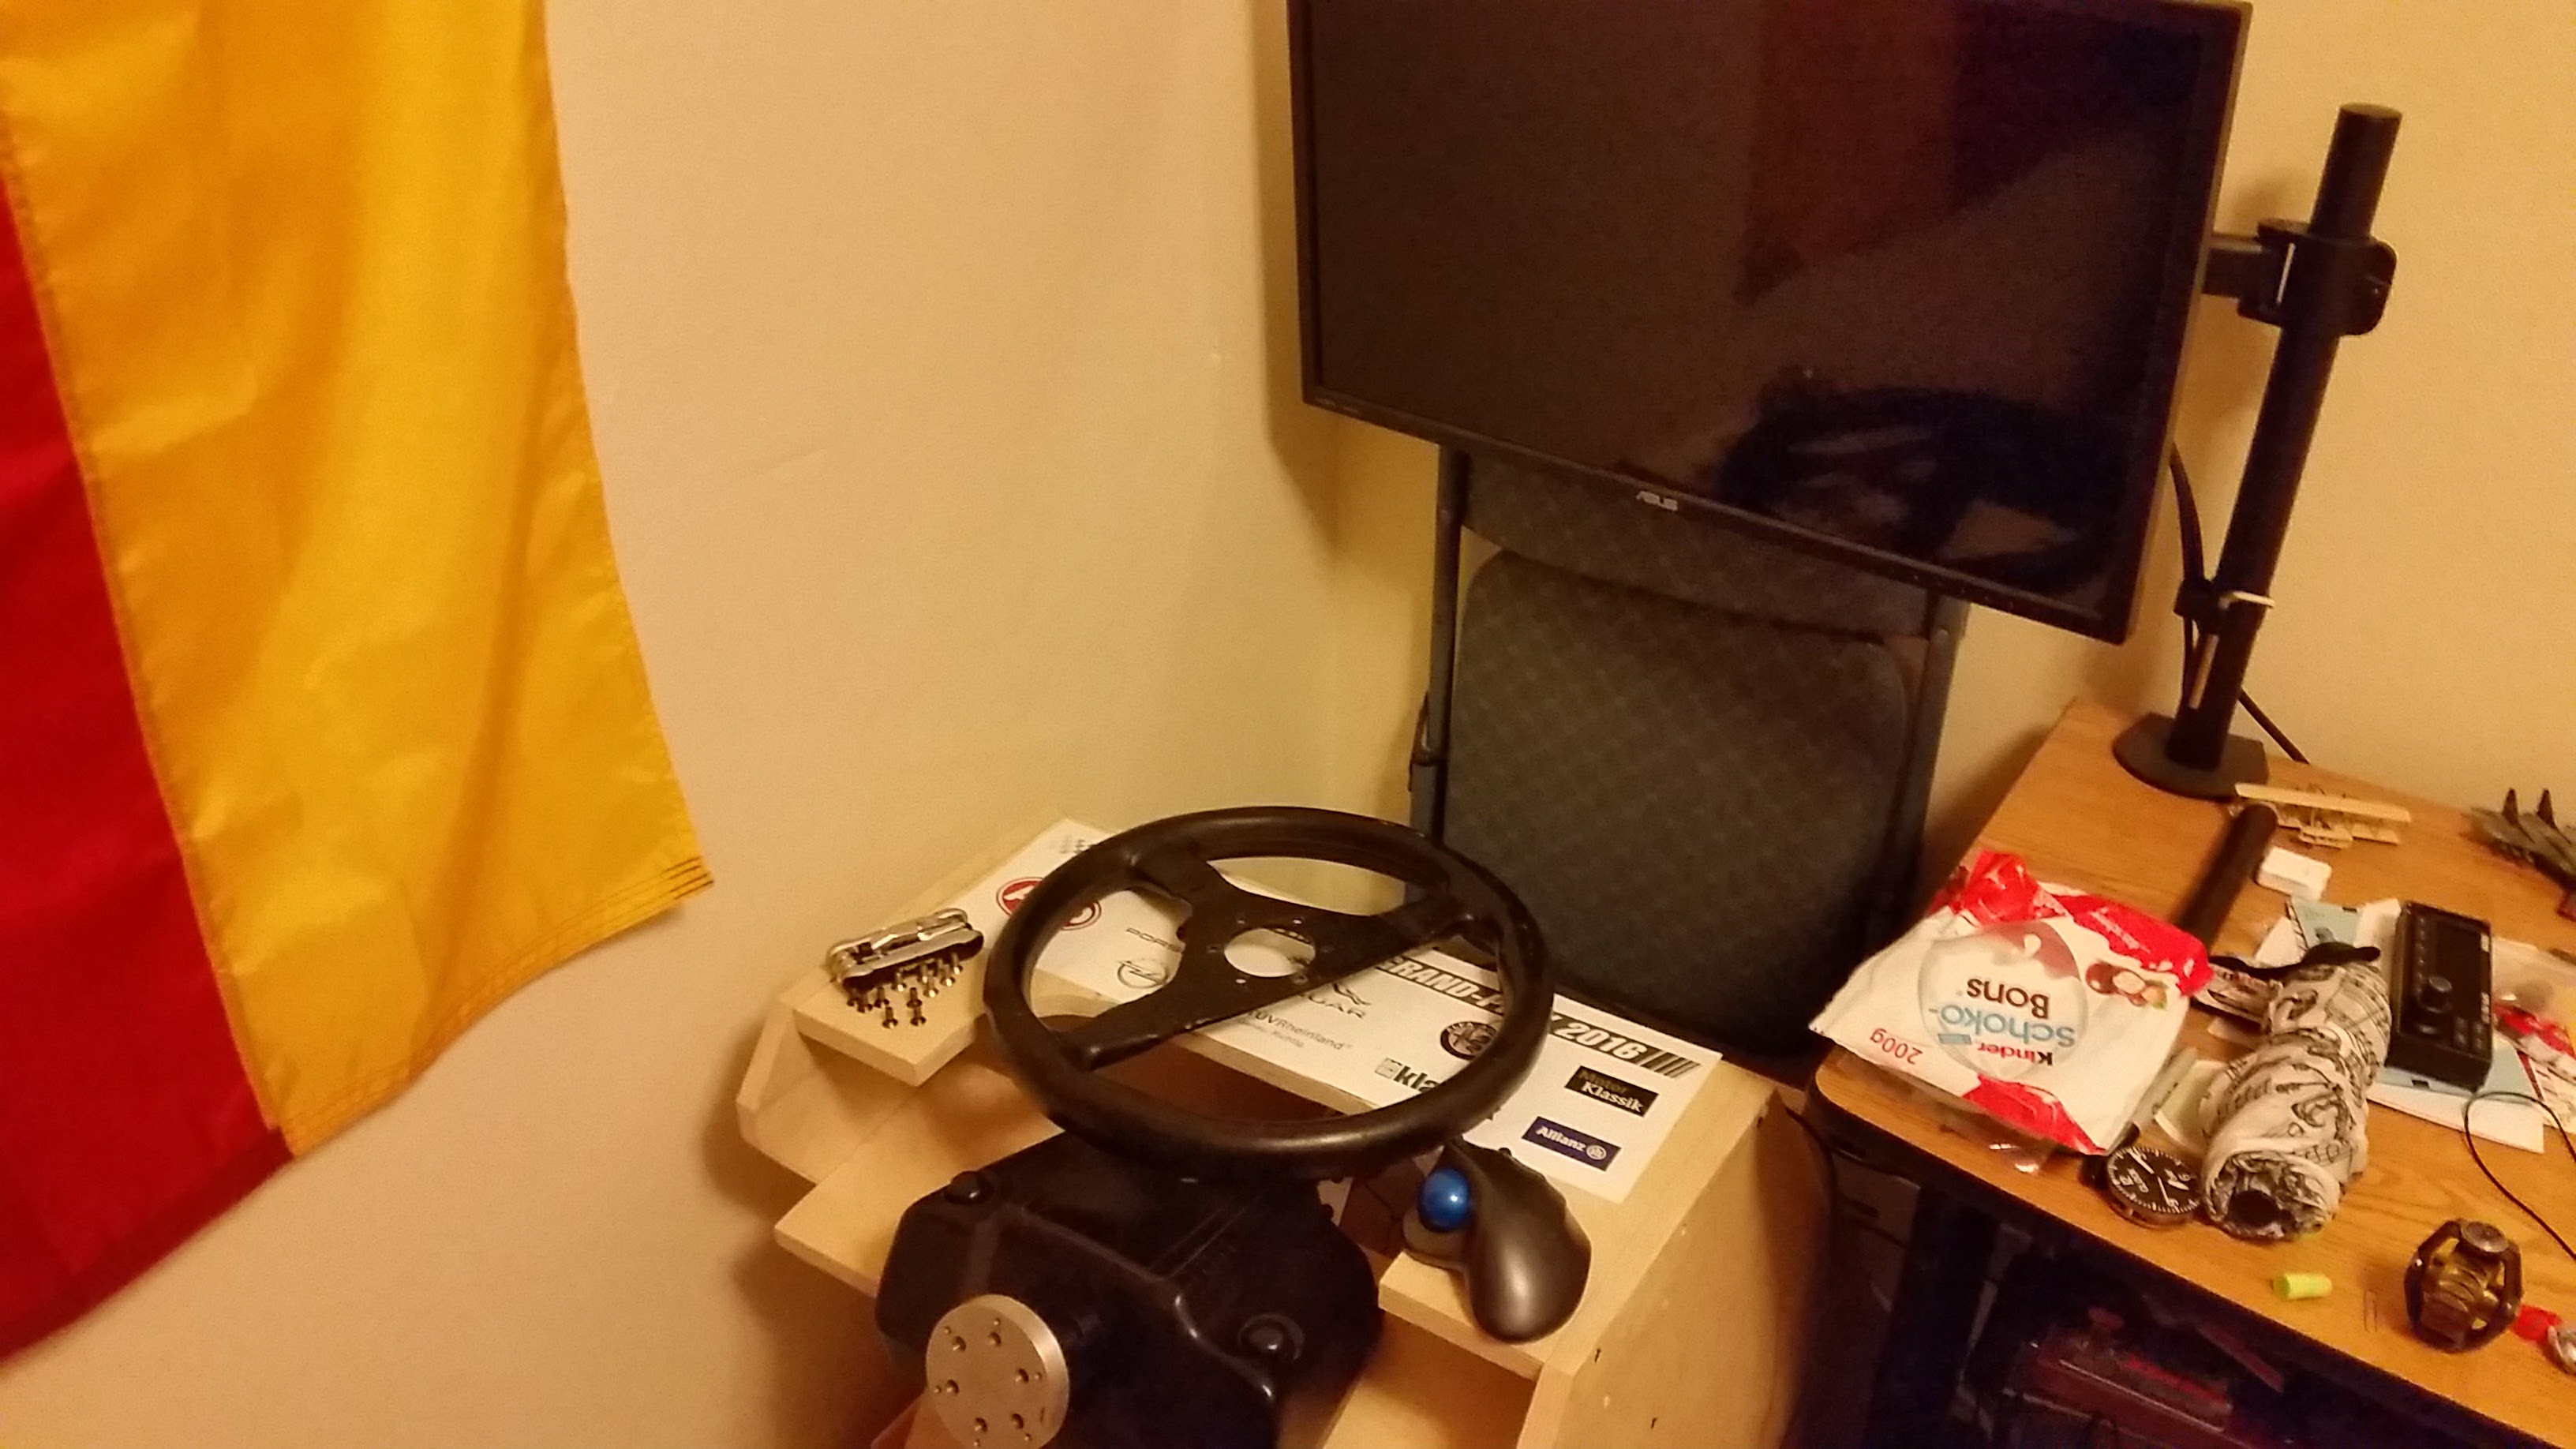
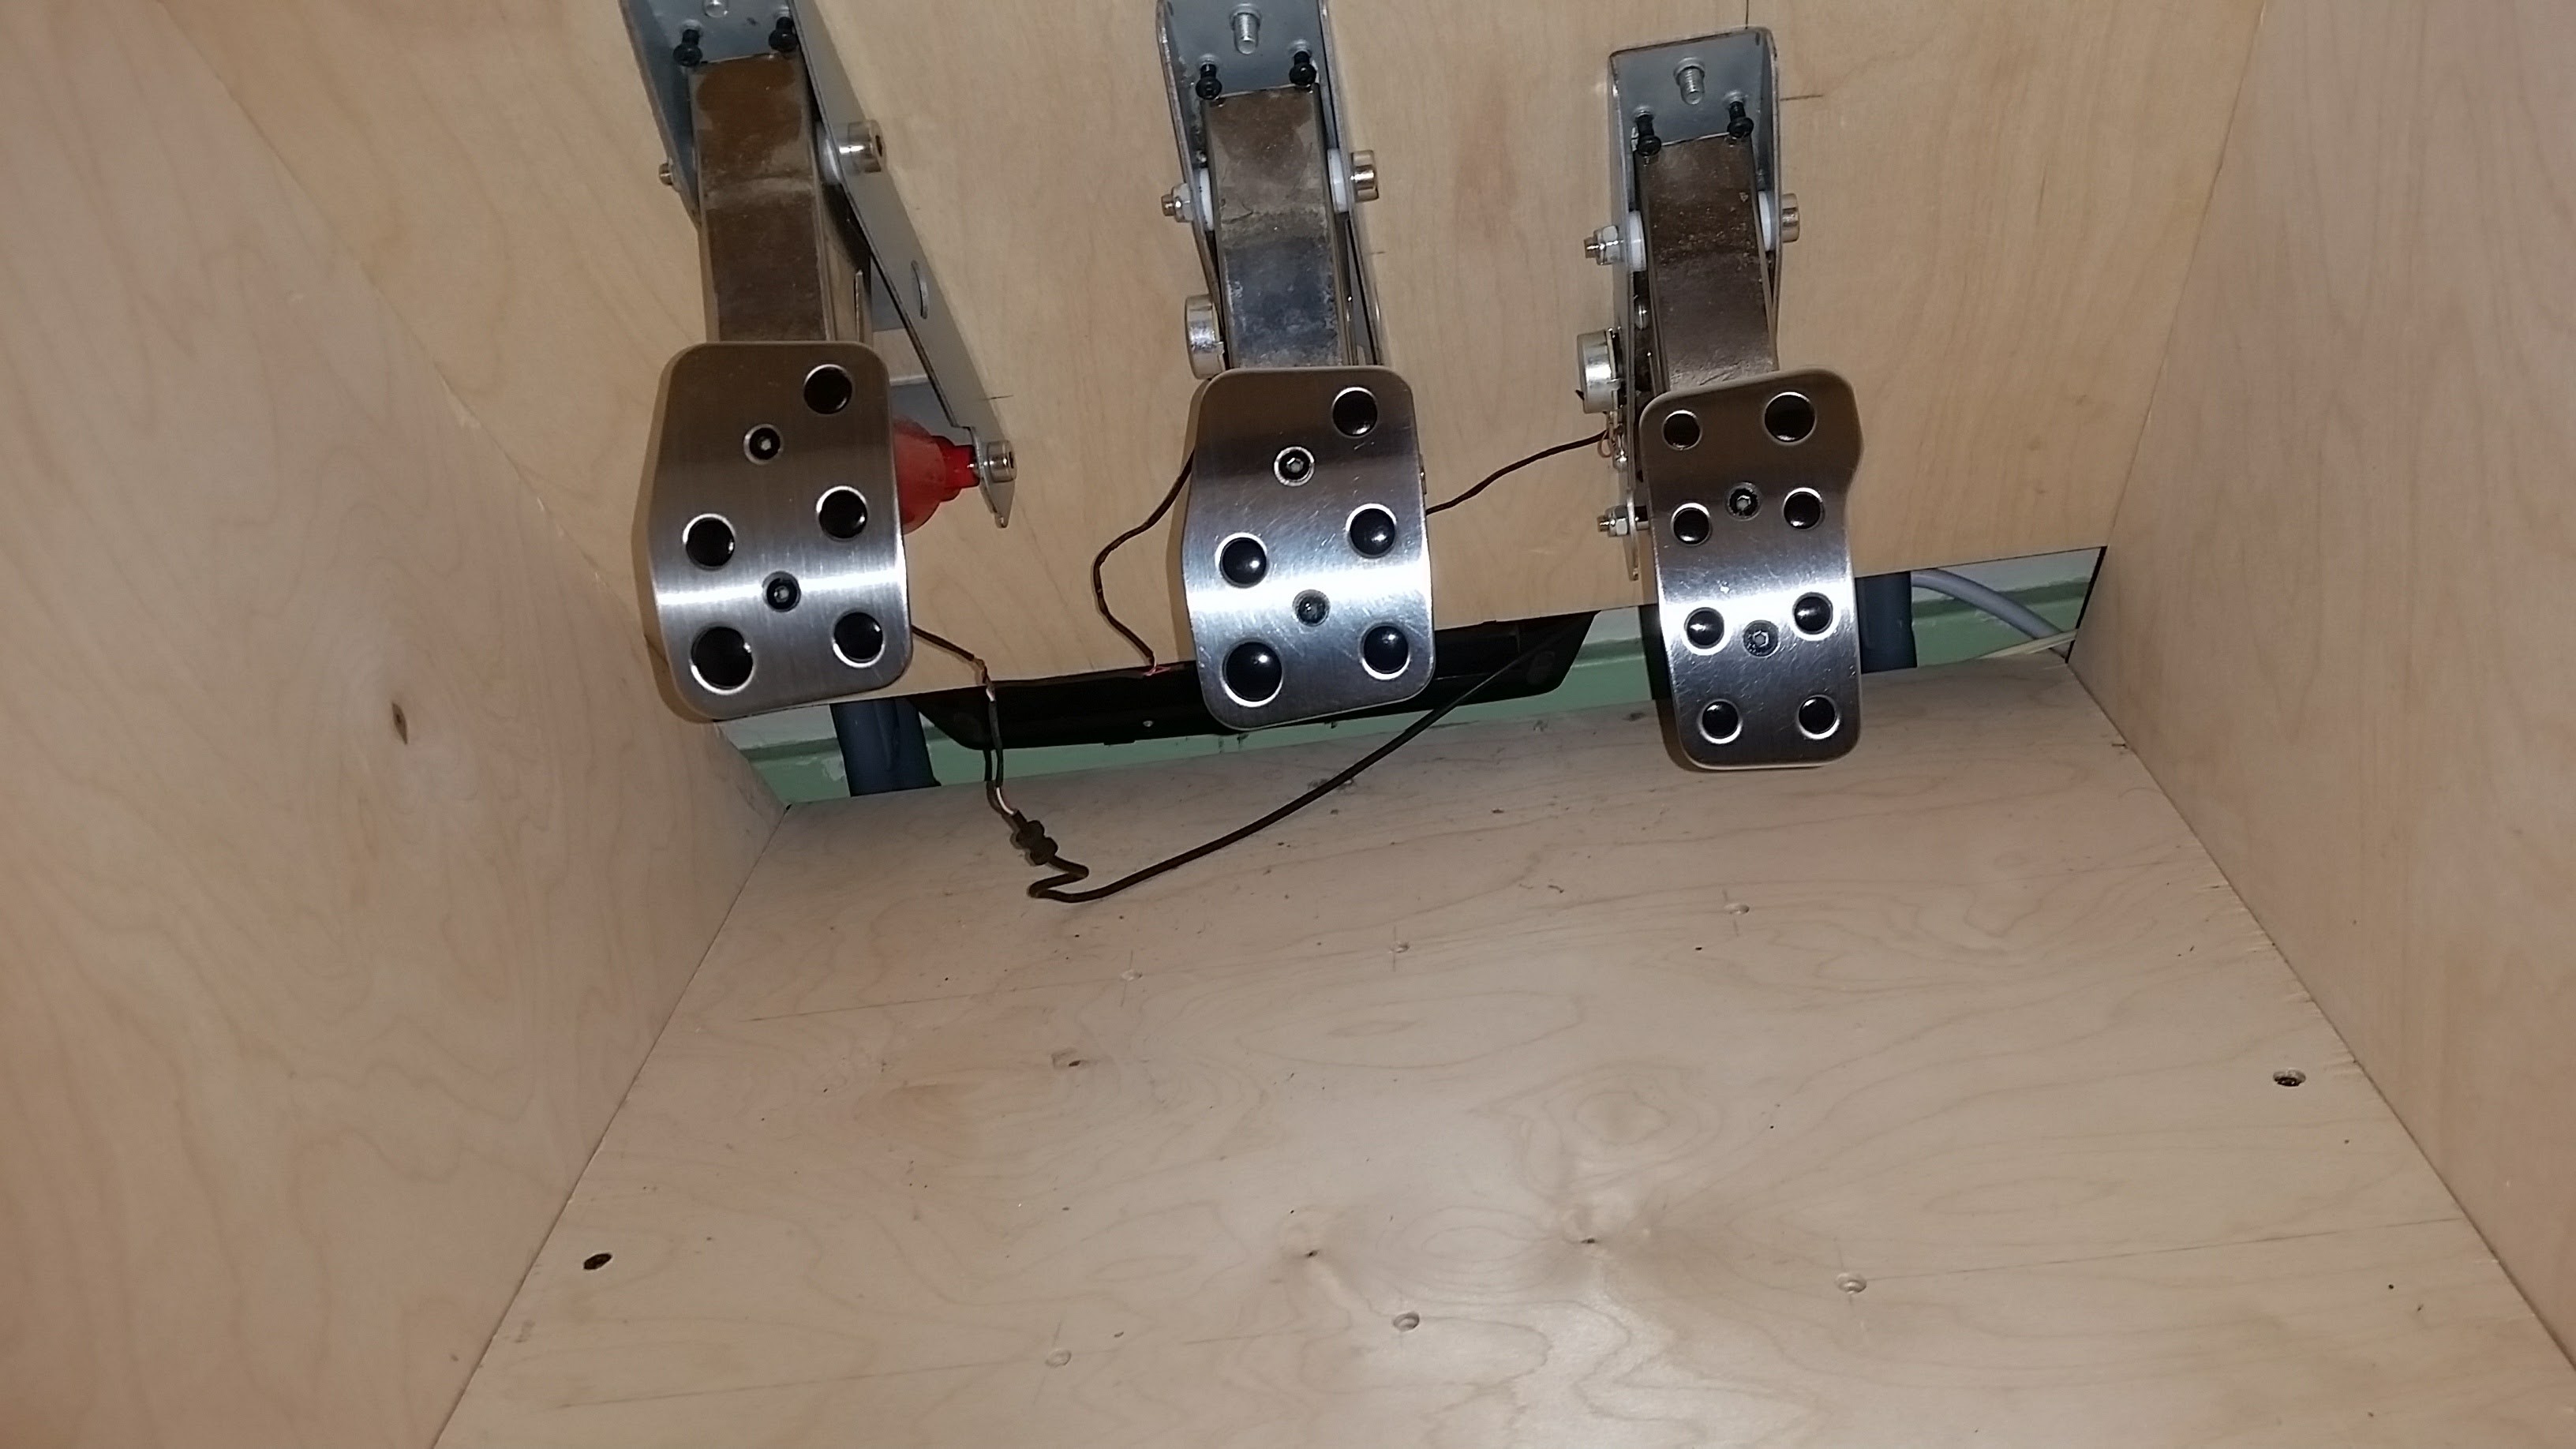
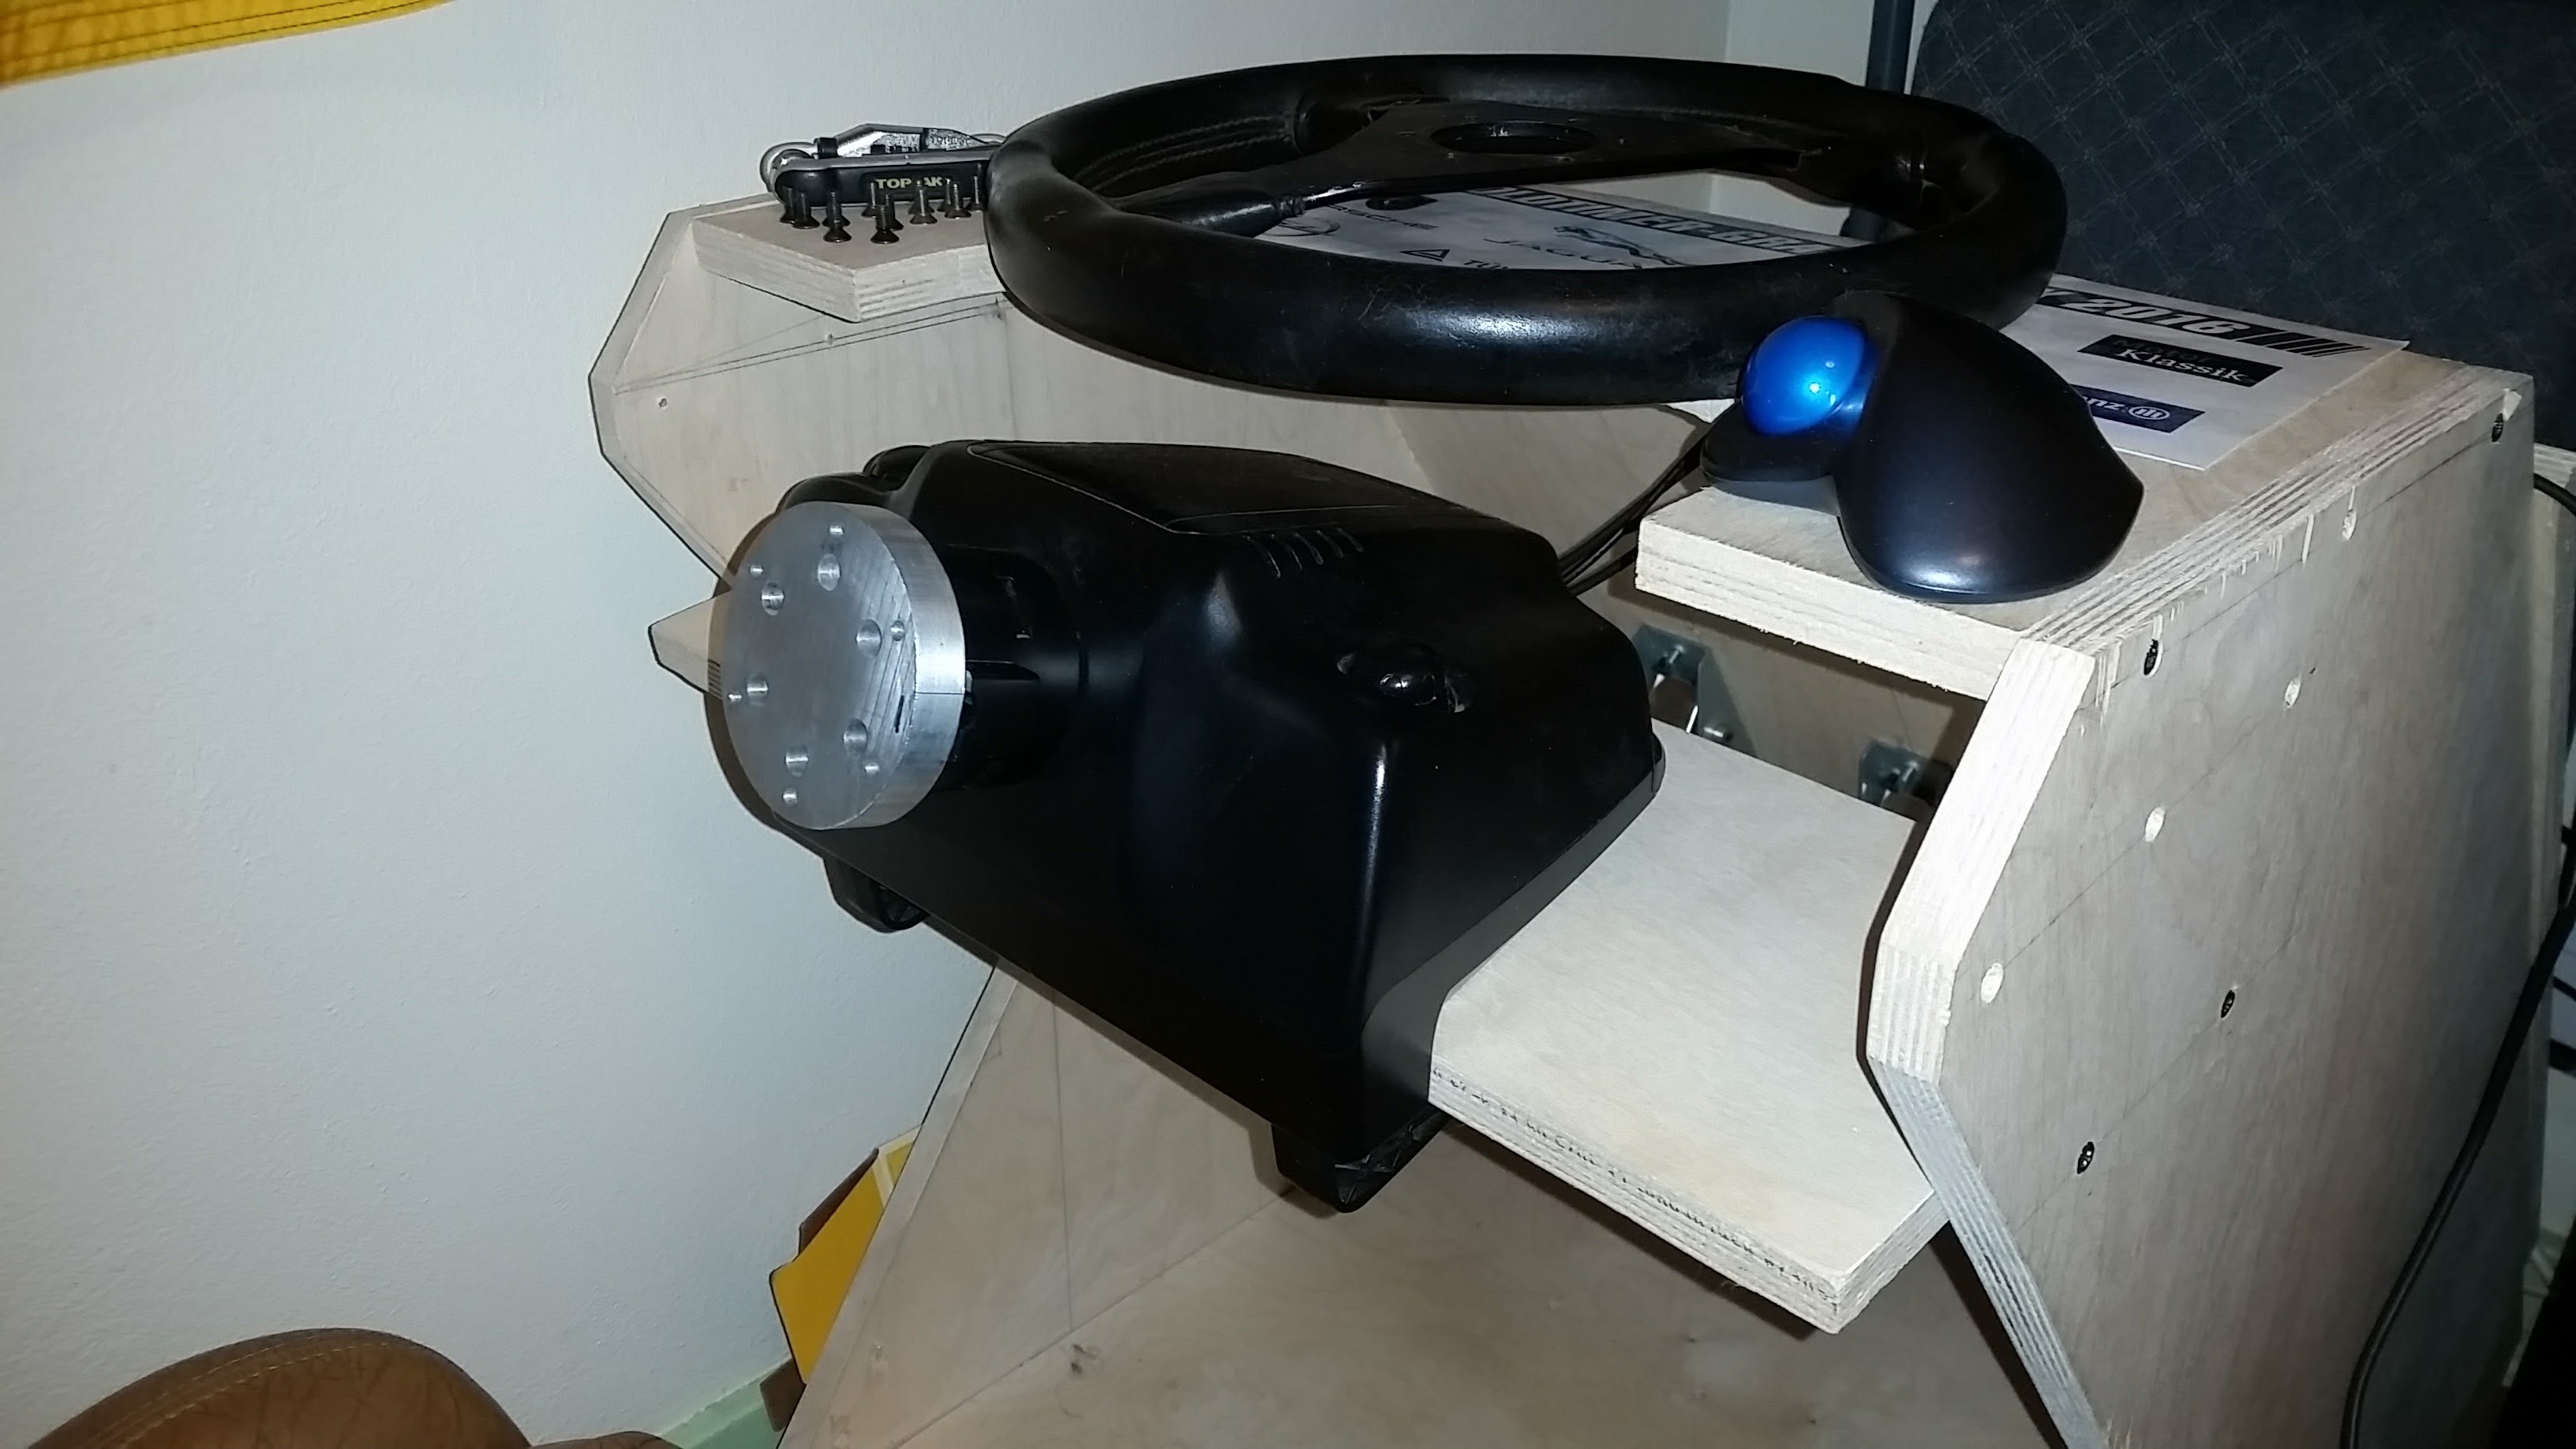
As designed, this should fit a Logitech G25 (though it shouldn't be hard to fit any modern wheel/pedals/shifter combination with some modification to how it mounts) with pedals either on the "floor" or (taken out of their plastic housing) upside-down against the front wall. The bolt holes are meant to approximate the positions of the pedals at rest in a Miata; if I were to do it again I would probably move them forward somewhat, as the G25 pedals have much less travel than the Miata pedals and feel a little unnatural as close to the driver as they are. Keep in mind, the Miata is a small car, and you may want to build yours slightly larger. I am around 5'9" (1.75m) tall and find it fits me well. As always, your mileage may vary.
My chief complaint with the unit as it is is being hard to get in and out. If you have lots of space and can put it in the middle of a room, or with the shifter against the wall (or if you omit the shifter or mount it on the same panel as the wheel) you will not have this problem, or it will be greatly reduced. As mine is, I have to step onto the seat, then gradually lower myself as I walk my feet toward the pedals. Taking the steering wheel off makes this much easier, but also requires putting it back on. As I am still young and flexible, this isn't much of a problem, and well worth putting up with for how much better it is than clamping the wheel to a desk. The only other problem I occasionally notice is my knee bumping the clamp for the wheel; this only really happens when I left-foot brake, and I've learned to avoid it. Those with longer legs will likely want to mount the steering wheel slightly higher.
Below are some photos that should be helpful should you choose to pursue such a project and descriptions that should help you interpret their importance. In addition, I have both sets of drawings - those I initially made to construct my console and a revised set fixing the problems I encountered during construction.